Blog / Build a Blog using Laravel, Vue and Canvas

Build a Blog using Laravel, Vue and Canvas

7 min - 16 Oct 2023
TL;DR: How to quickly create a blog using the Vue Inertia Laravel Tailwind stack and Austin Todd's Canvas tool.
You will find the source code via this Github Repository. Find out more on Capsules, X or Bluesky.
A quick note on the languages and frameworks used: Laravel handles the server-side, Vue handles the client-side, and Inertia bridges the gap between them. For the site's visual aspect, we're using Tailwind CSS. Let's assume you already have a ready-to-use Laravel Inertia Vue Tailwind template.
Canvas is a powerful tool for Laravel applications that streamlines the writing, editing, and customization of your content with a range of publishing tools. It's an incredible all-in-one solution for creating and publishing articles, just like the one you're reading.
Installation of Canvas via the terminal:
composer require austintoddj/canvas
Creating a blog database via the terminal.
mysql -u <username> -p <password> -e "CREATE DATABASE blog"
Configuring database-related data in the .env file.
.env
DB_CONNECTION=mysql
DB_HOST=127.0.0.1
DB_PORT=3306
DB_DATABASE=blog
DB_USERNAME=
DB_PASSWORD=
Publishing resources, the main configuration file, Canvas migrations, and creating a symlink to the storage directory.
php artisan canvas:install

php artisan storage:link
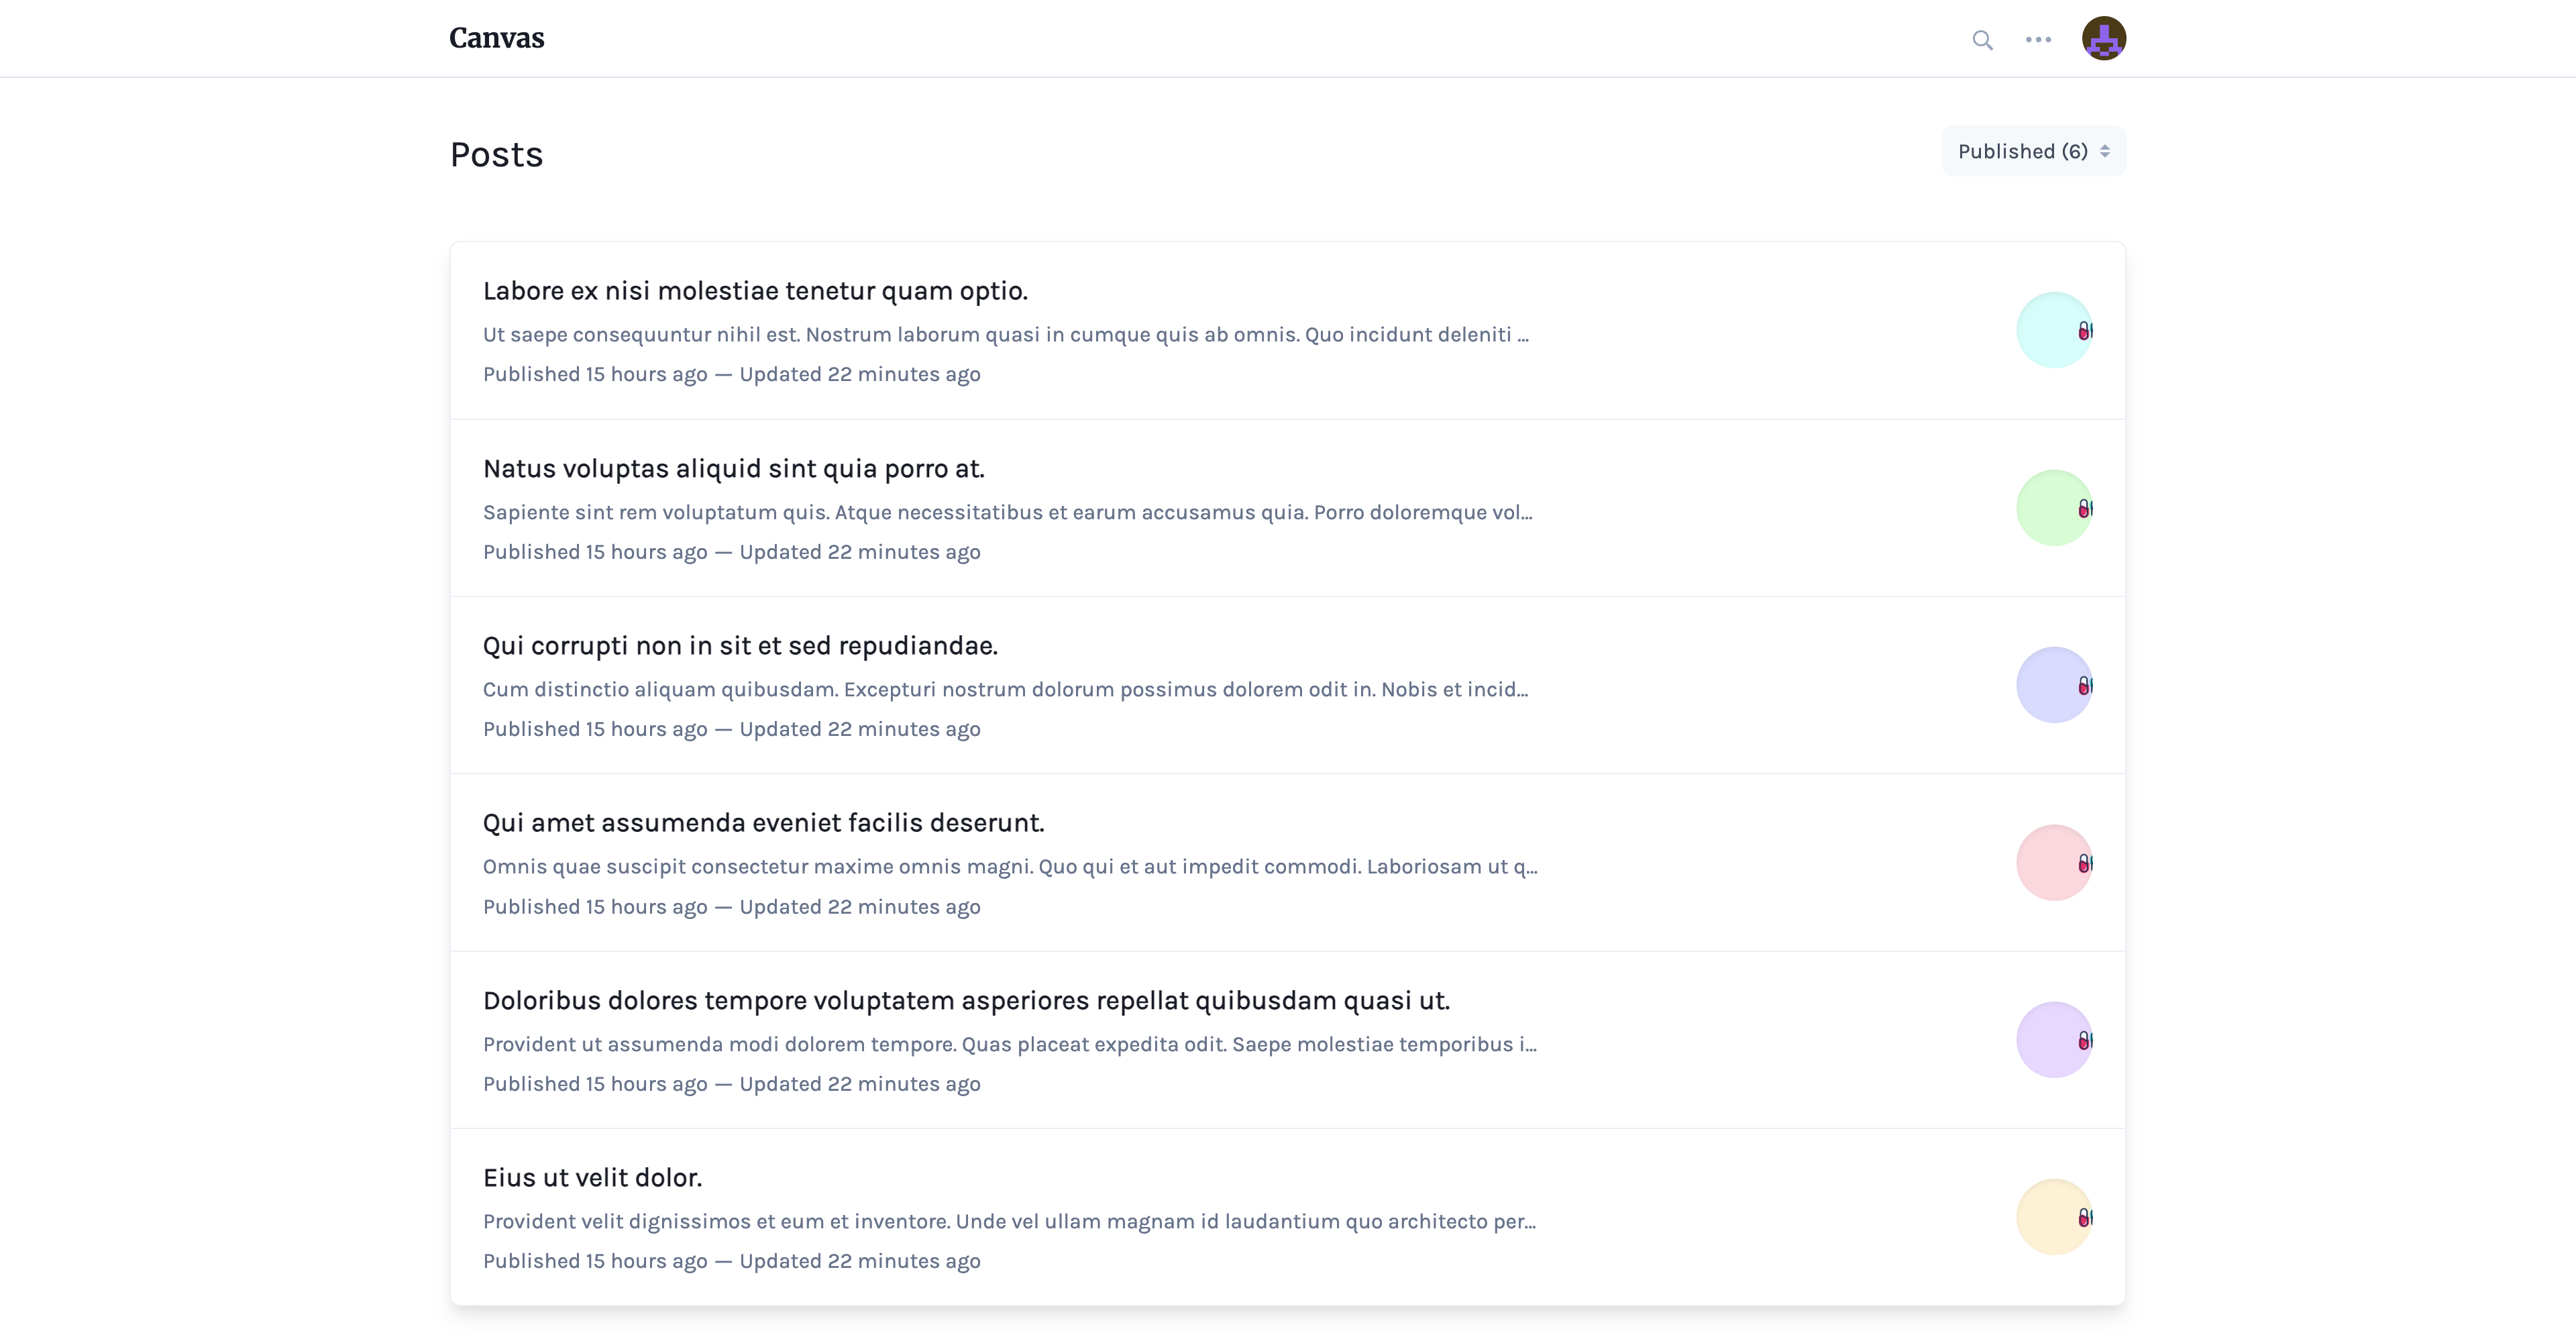
Canvas is now accessible at the following address : http://your.domain.name/canvas The credentials generated during the execution of php artisan canvas:install can be used to log in through the login form.
It is now possible to manually add an article through the Canvas tool. However, a seeder has been provided beforehand.
database/seeders/DatabaseSeeder.php
<?php

namespace Database\Seeders;

use Illuminate\Database\Seeder;
use Canvas\Models\Post;
use Canvas\Models\User;
use Carbon\Carbon;
use Illuminate\Support\Str;

class DatabaseSeeder extends Seeder
{
    public function run(): void
    {
        $user = User::first();

        for( $amount = 1; $amount <= 6; $amount++ )
        {
            $post = new Post();

            $post->id = Str::uuid();
            $post->title = fake()->sentence();
            $post->slug = Str::snake( $post->title, '-' );
            $post->summary = fake()->paragraph();
            $post->body = '<p>' . fake()->paragraph( 2 ) . '</p><br><br><p>' . fake()->paragraph( 8 ) . '</p><br><br><p>' . fake()->paragraph( 6 ) . '</p>';
            $post->published_at = Carbon::now()->addSeconds( $amount );
            $post->featured_image = "/storage/canvas/images/capsules-blog-00{$amount}.jpg";
            $post->user()->associate( $user );

            $post->save();
        }
    }
}
Six images have been previously placed in the /canvas/images directory. Their file paths are specified in the featured_image property. You can find them in the GitHub Repository mentioned earlier.
The body property requires HTML code.
Seconds have been added to the published_at property to ensure that the articles do not have the same publication date.
The seeder can be executed to create six articles using the following command.
php artisan db:seed
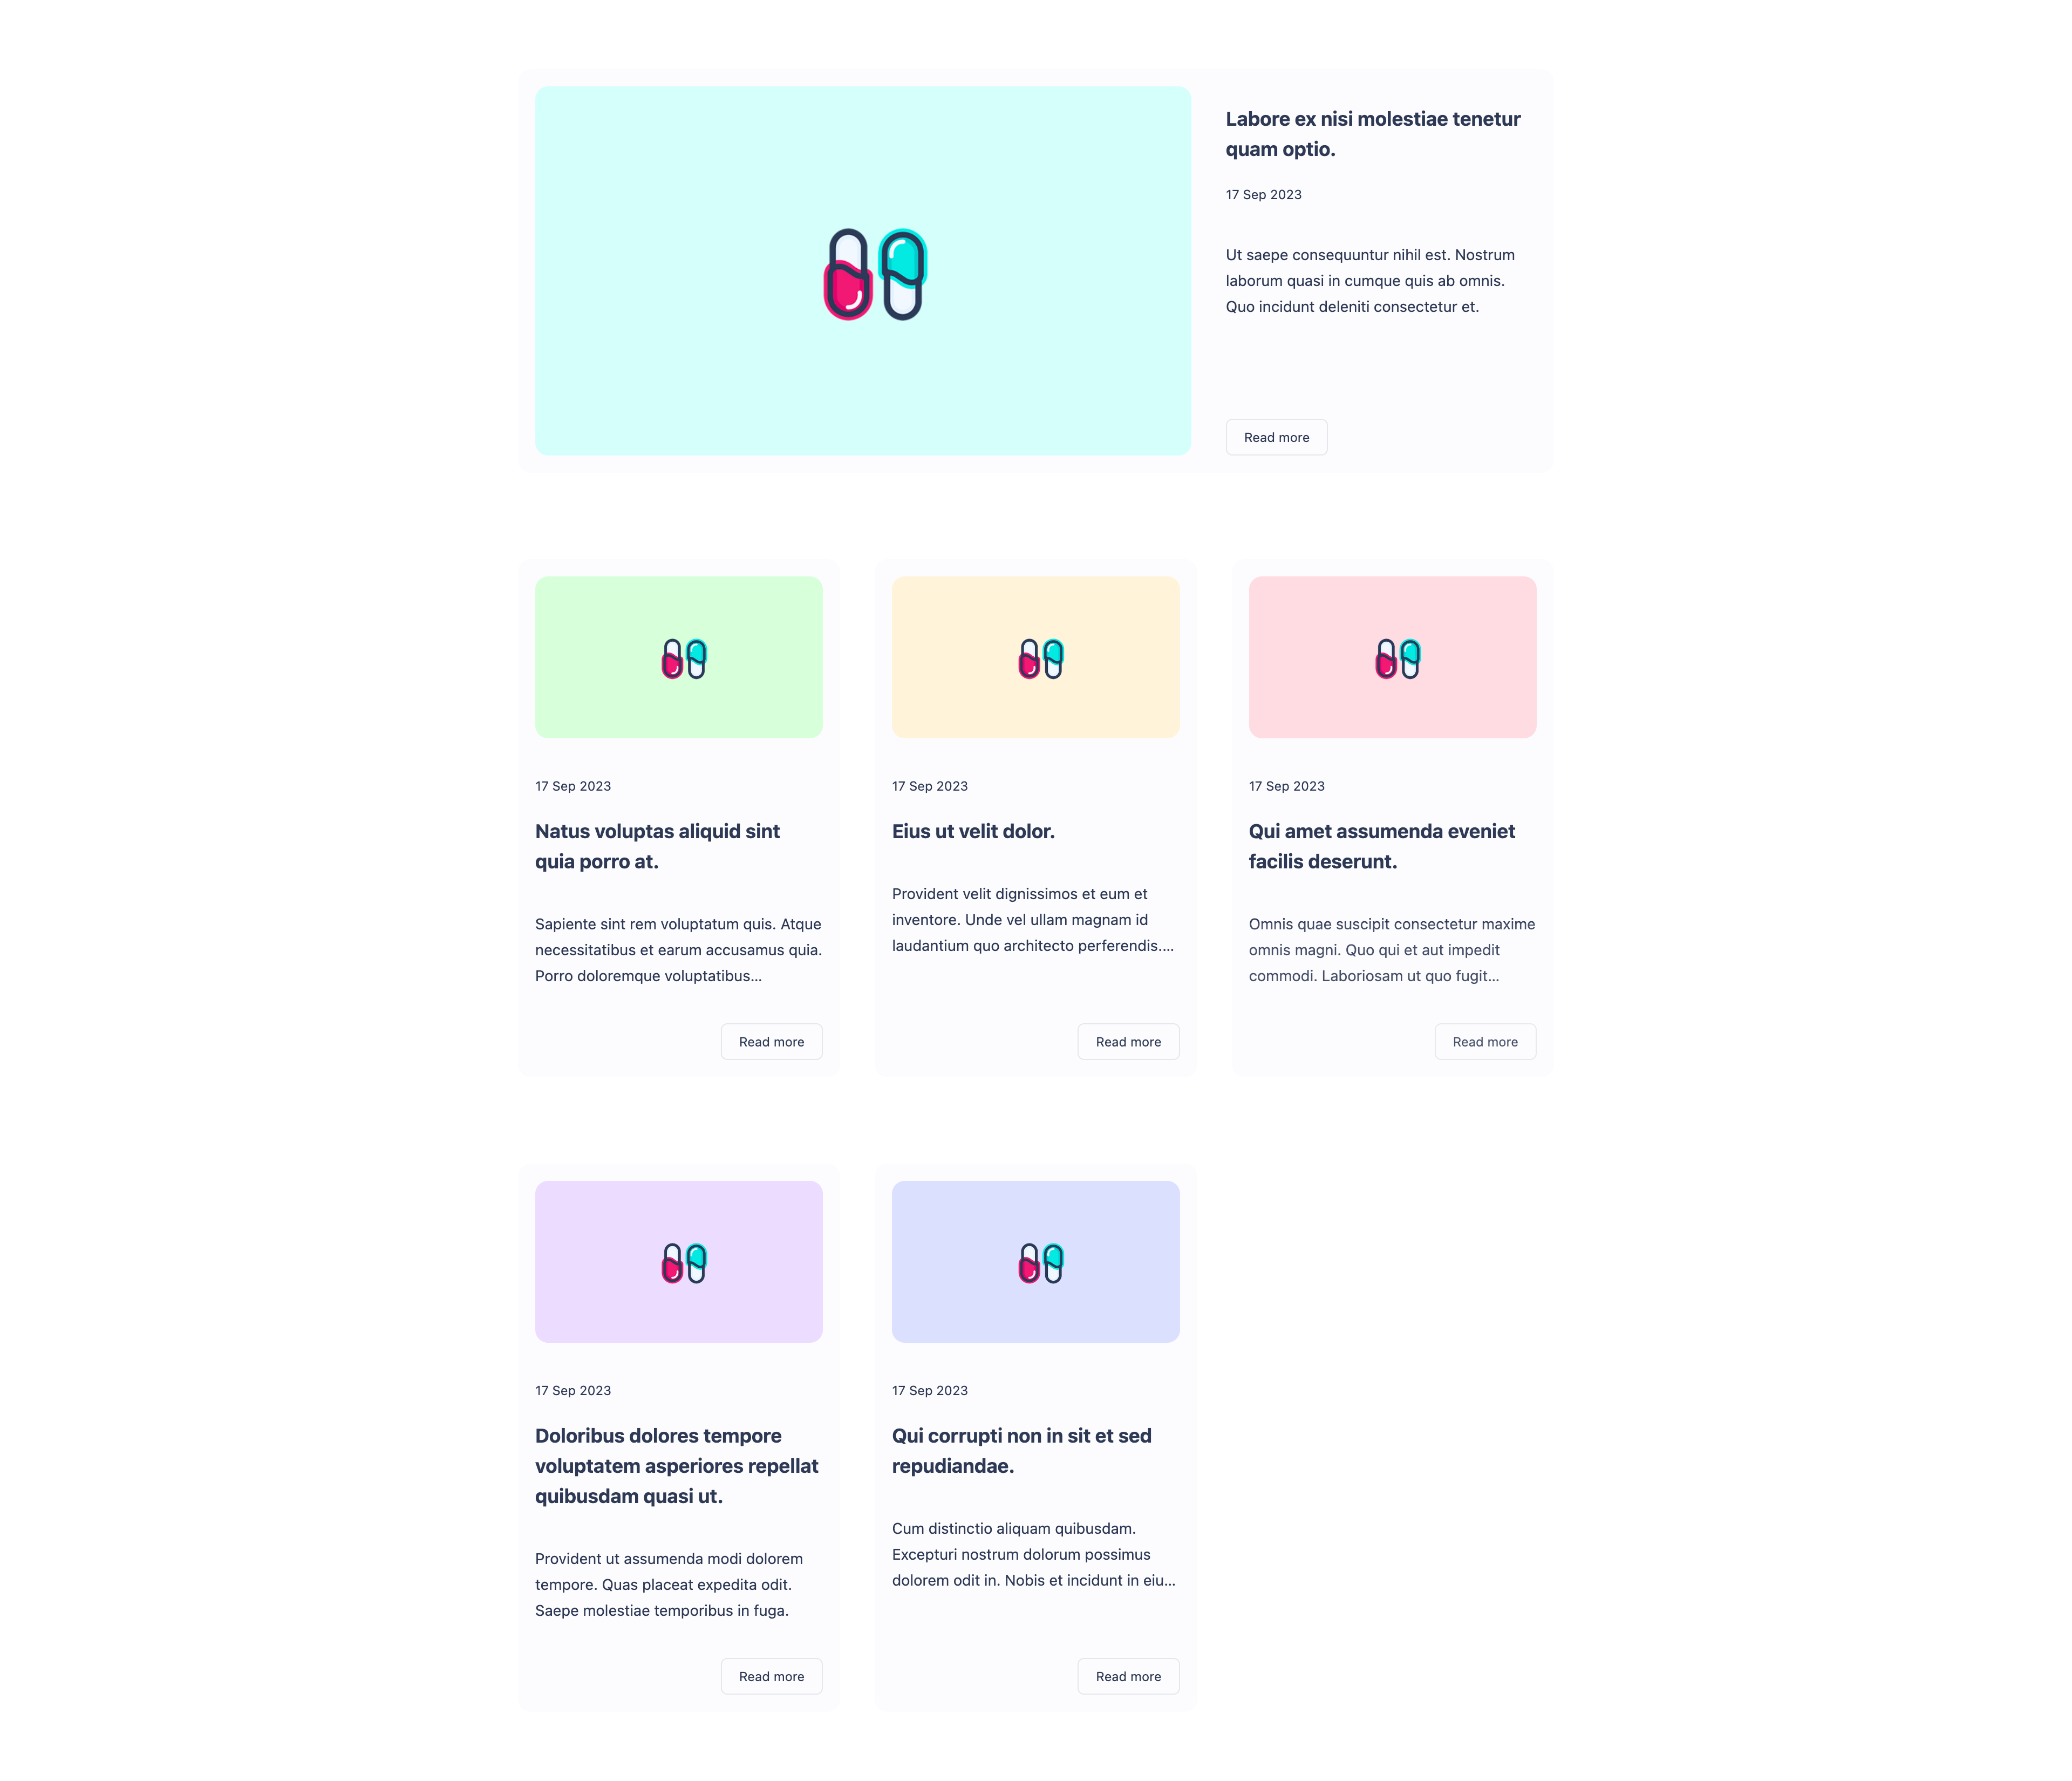
The articles are ready to be organized and read. It's now time to display them. To start, the creation of a PostController is required. Initially, the index method will list article summaries on the main page.
App/Http/Controllers/PostController.php
<?php

namespace App\Http\Controllers;

use Illuminate\Http\Request;
use Inertia\Response;
use Canvas\Models\Post;
use Inertia\Inertia;
use App\Http\Resources\PostResource;

class PostController extends Controller
{
    public function index( Request $request ) : Response
    {
        $posts = Post::published()->orderBy( 'published_at', 'desc' )->get();

        return Inertia::render( 'Posts/Index', [ 'posts' => PostResource::collection( $posts )->toArray( $request ) ] );
    }
}
It is necessary to call the toArray method of the collection to bypass the default setup of a pagination JSON object.
We select the published articles rather than the drafts and sort them based on the most recent publication date. These data are then injected into a PostResource.
App/Resources/PostResource.php
<?php

namespace App\Http\Resources;

use Illuminate\Http\Request;
use Illuminate\Http\Resources\Json\JsonResource;
use Illuminate\Support\Str;

class PostResource extends JsonResource
{
    public function toArray( Request $request ) : array
    {
        return [
            'title' => $this->title,
            'slug' => $this->slug,
            'summary' => $this->summary,
            'image' => $this->featured_image,
            'body' => $this->body,
            'time' => round( Str::wordCount( $this->body ) / 200 ),
            'date' => $this->published_at->format( 'd M Y' )
        ];
    }
}
A small feature has been added to the resource, namely the time concept, which represents the reading time of the article. This time is calculated by taking the number of words in the article's body and dividing it by an arbitrary number, which is 200. This calculation is based on the assumption that an average reader reads 200 words per minute.
You can now create the main route in the web.php file, which will then call the index method of the PostController.
routes/web.php
use App\Http\Controllers\PostController;

Route::get( '/', [ PostController::class, 'index' ] )->name( 'posts.index' );
Now it's up to the client and a Vue component to format this list of articles in Index.vue.
resources/js/pages/Posts/Index.vue
<script setup lang="ts">

import { Link } from '@inertiajs/vue3';

const props = defineProps( { posts : { type : Array, default : [] } } );

</script>

<template>

    <div class="mx-auto w-full min-h-screen max-w-screen-lg flex text-primary-black">

        <div class="my-16 mx-8 grid grid-cols-3 gap-x-8 gap-y-20">

            <article class="p-4 flex flex-col items-start first:col-span-3 justify-between rounded-xl bg-primary-white bg-opacity-75 hover:opacity-90 transition-opacity duration-300 ease-in-out" v-for=" ( post, index ) in props.posts " v-bind:key="post.slug">

                <div class="h-full flex flex-col" v-bind:class=" { 'grid grid-cols-3 gap-x-8' : index == 0 } ">

                    <Link v-bind:class=" { 'col-span-2 h-full' : index == 0 } " v-bind:href="`/${post.slug}`">

                        <img class="w-full aspect-video object-cover rounded-xl dark-image-mode" v-bind:class=" { 'h-full' : index == 0 } " v-bind:src="post.image">

                    </Link>

                    <div class="grow flex flex-col items-stretch justify-between">

                        <div v-bind:class=" { 'mt-4' : index != 0 } ">

                            <div v-bind:class=" { 'flex flex-col-reverse' : index == 0 } ">

                                <div class="mt-4 flex items-center space-x-4 text-xs">

                                    <p class="py-1" v-text="post.date" />

                                </div>

                                <Link v-bind:href="`/${post.slug}`"><h3 class="mt-4 text-lg font-bold" v-bind:class=" { 'text-2xl' : index == 0 }" v-text="post.title" /></Link>

                            </div>

                            <p class="mt-8 text-sm leading-6" v-bind:class=" index == 0 ? 'line-clamp-6' : 'line-clamp-3' " v-text="post.summary" />

                        </div>

                        <div class="mt-8 flex" v-bind:class=" index == 0 ? 'justify-start' : 'justify-end' ">

                            <Link class="px-4 py-2 rounded-md text-xs border" v-bind:href="`/${post.slug}`"><span v-text="'Read more'" /></Link>

                        </div>

                    </div>

                </div>

            </article>

        </div>

    </div>

</template>
The first article receives special treatment, and each element of the object is assigned a different Tailwind class based on index == 0.
Next comes the article reading page, requiring the creation of a new route.
routes/web.php
Route::get( '/{post:slug}', [ PostController::class, 'show' ] )->name( 'posts.show' );
The {post:slug} directive allows using the article's slug in the URL instead of its default id.
Therefore, the implementation of the show method can be carried out in the PostController.
App/Http/Controlles/PostController.php
<?php

namespace App\Http\Controllers;

use Illuminate\Http\Request;
use Inertia\Response;
use Canvas\Models\Post;
use Inertia\Inertia;
use App\Http\Resources\PostResource;
use Illuminate\Support\Facades\Event;
use Canvas\Events\PostViewed;

class PostController extends Controller
{
    public function index( Request $request ) : Response
    {
        $posts = Post::published()->orderBy( 'published_at', 'desc' )->get();

        return Inertia::render( 'Posts/Index', [ 'posts' => PostResource::collection( $posts )->toArray( $request ) ] );
    }

    public function show( Post $post ) : Response
    {
        Event::dispatch( new PostViewed( $post ) );

        return Inertia::render( 'Post/Show', [ 'post' => new PostResource( $post ) ] );
    }
}
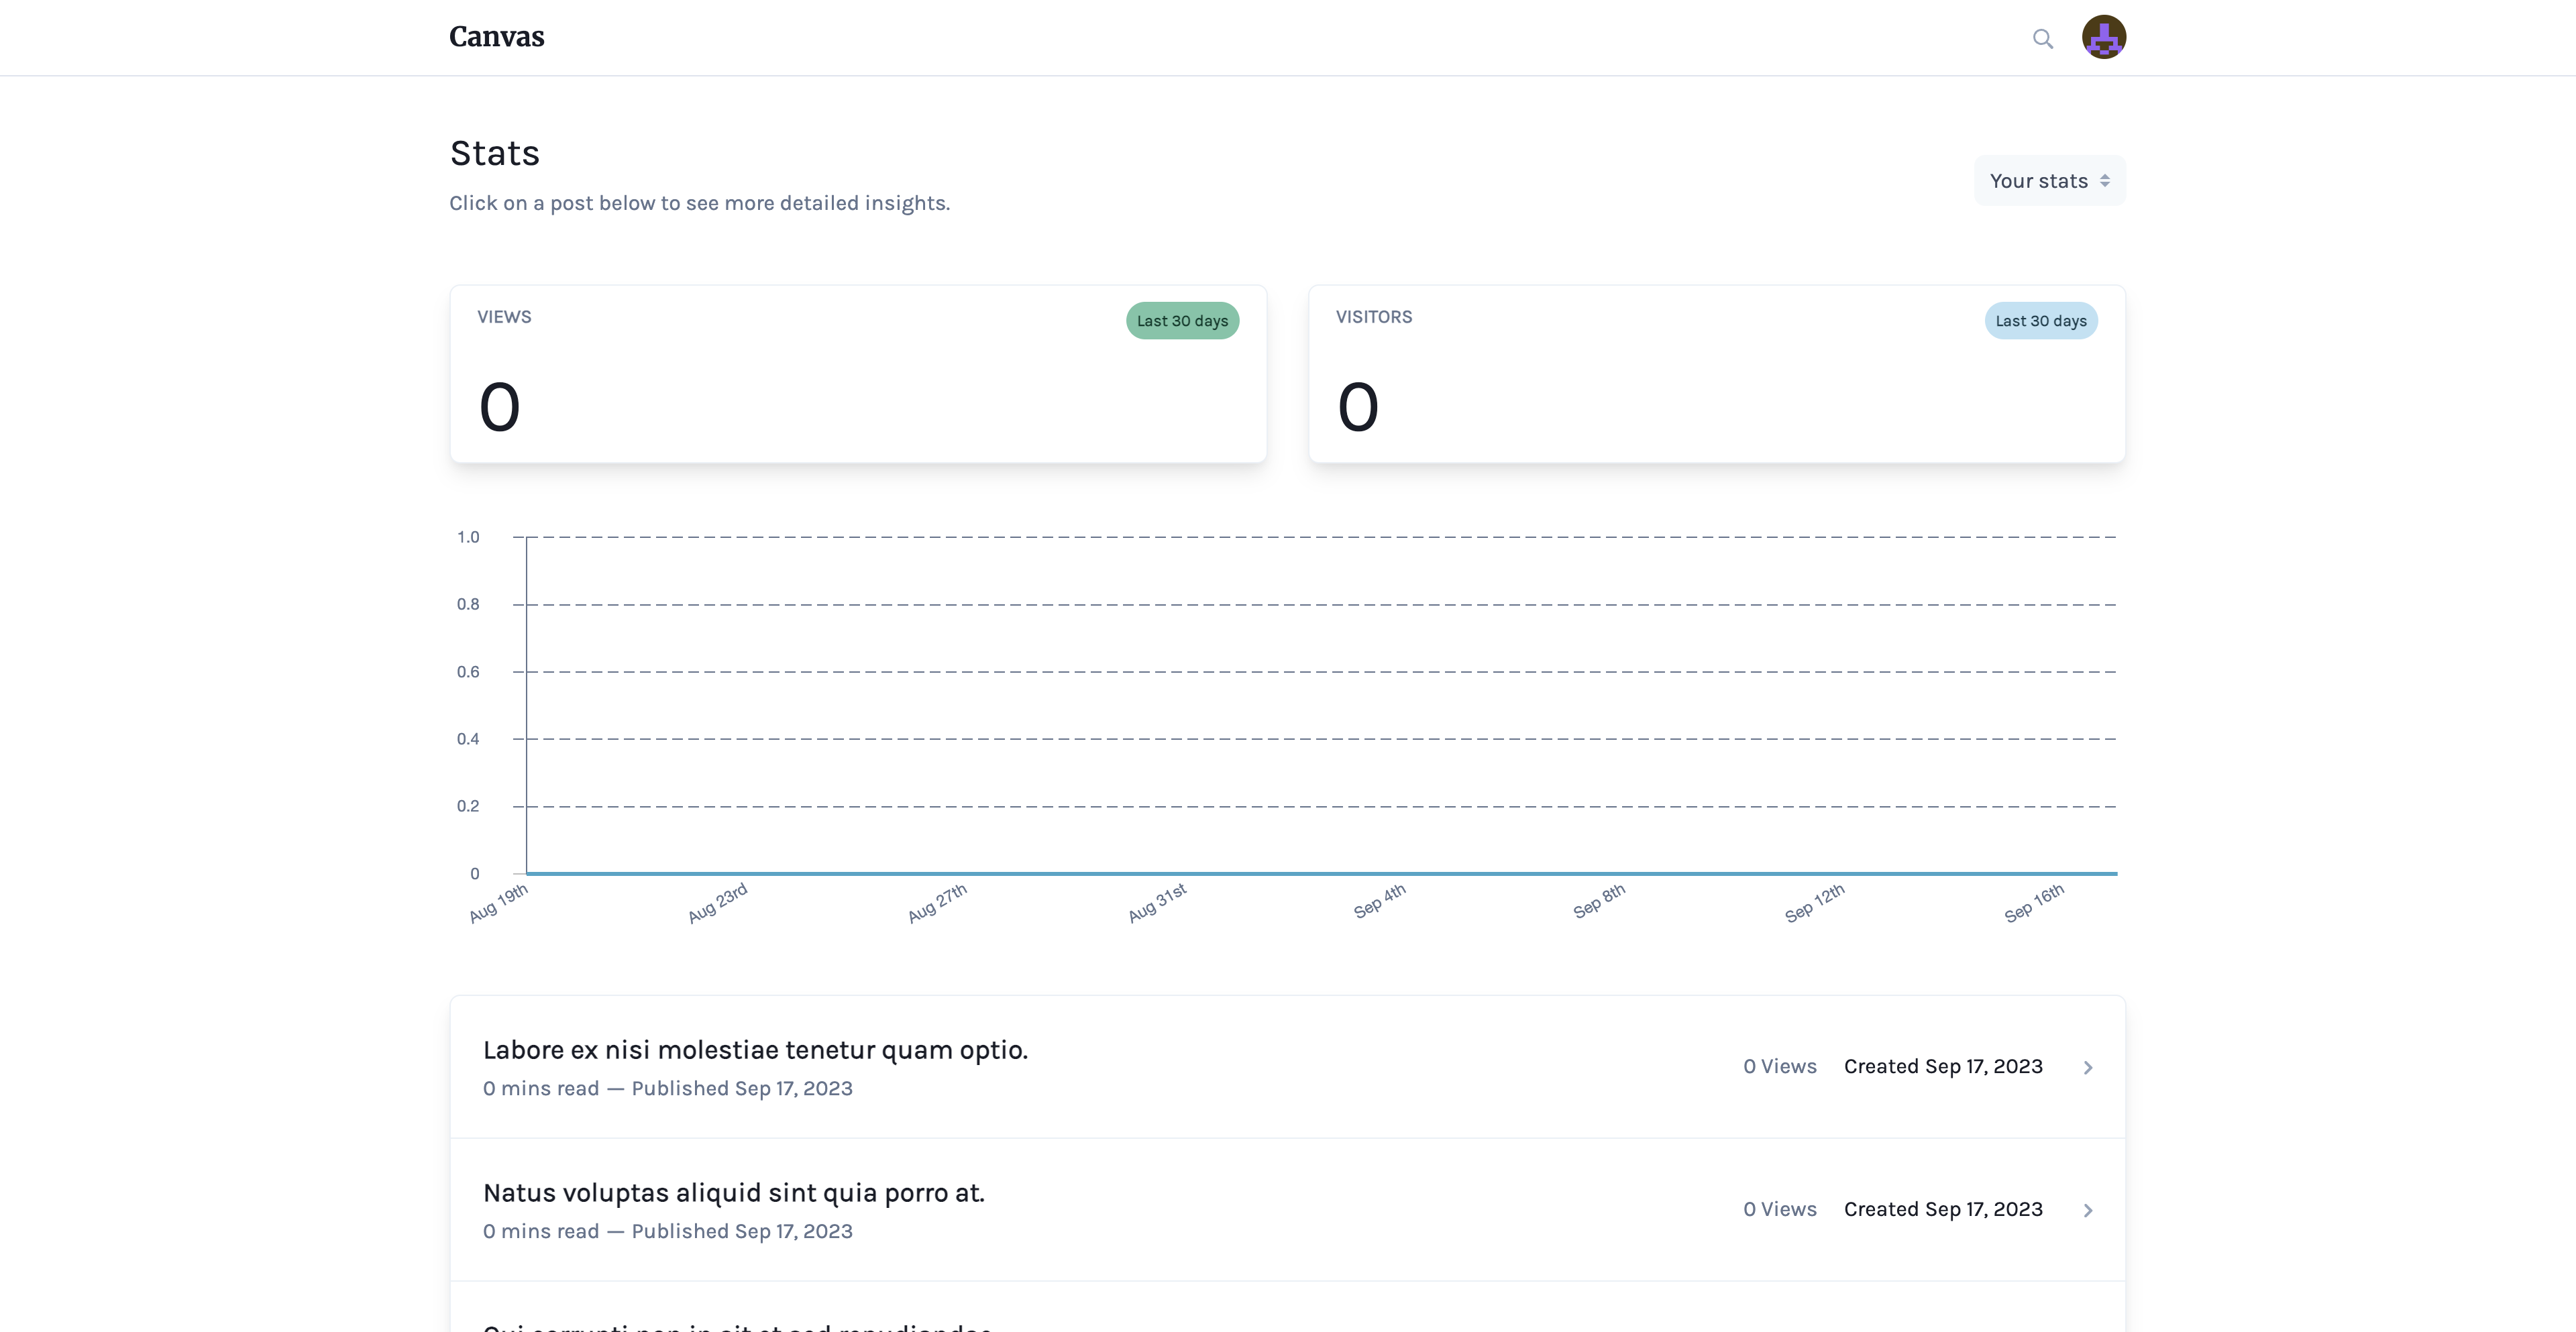
The Canvas tool has a dashboard that is fueled by a series of events, such as the one added in the show method, which counts the number of times an article has been viewed using the event dispatch Event::dispatch( new PostViewed( $post ) ).
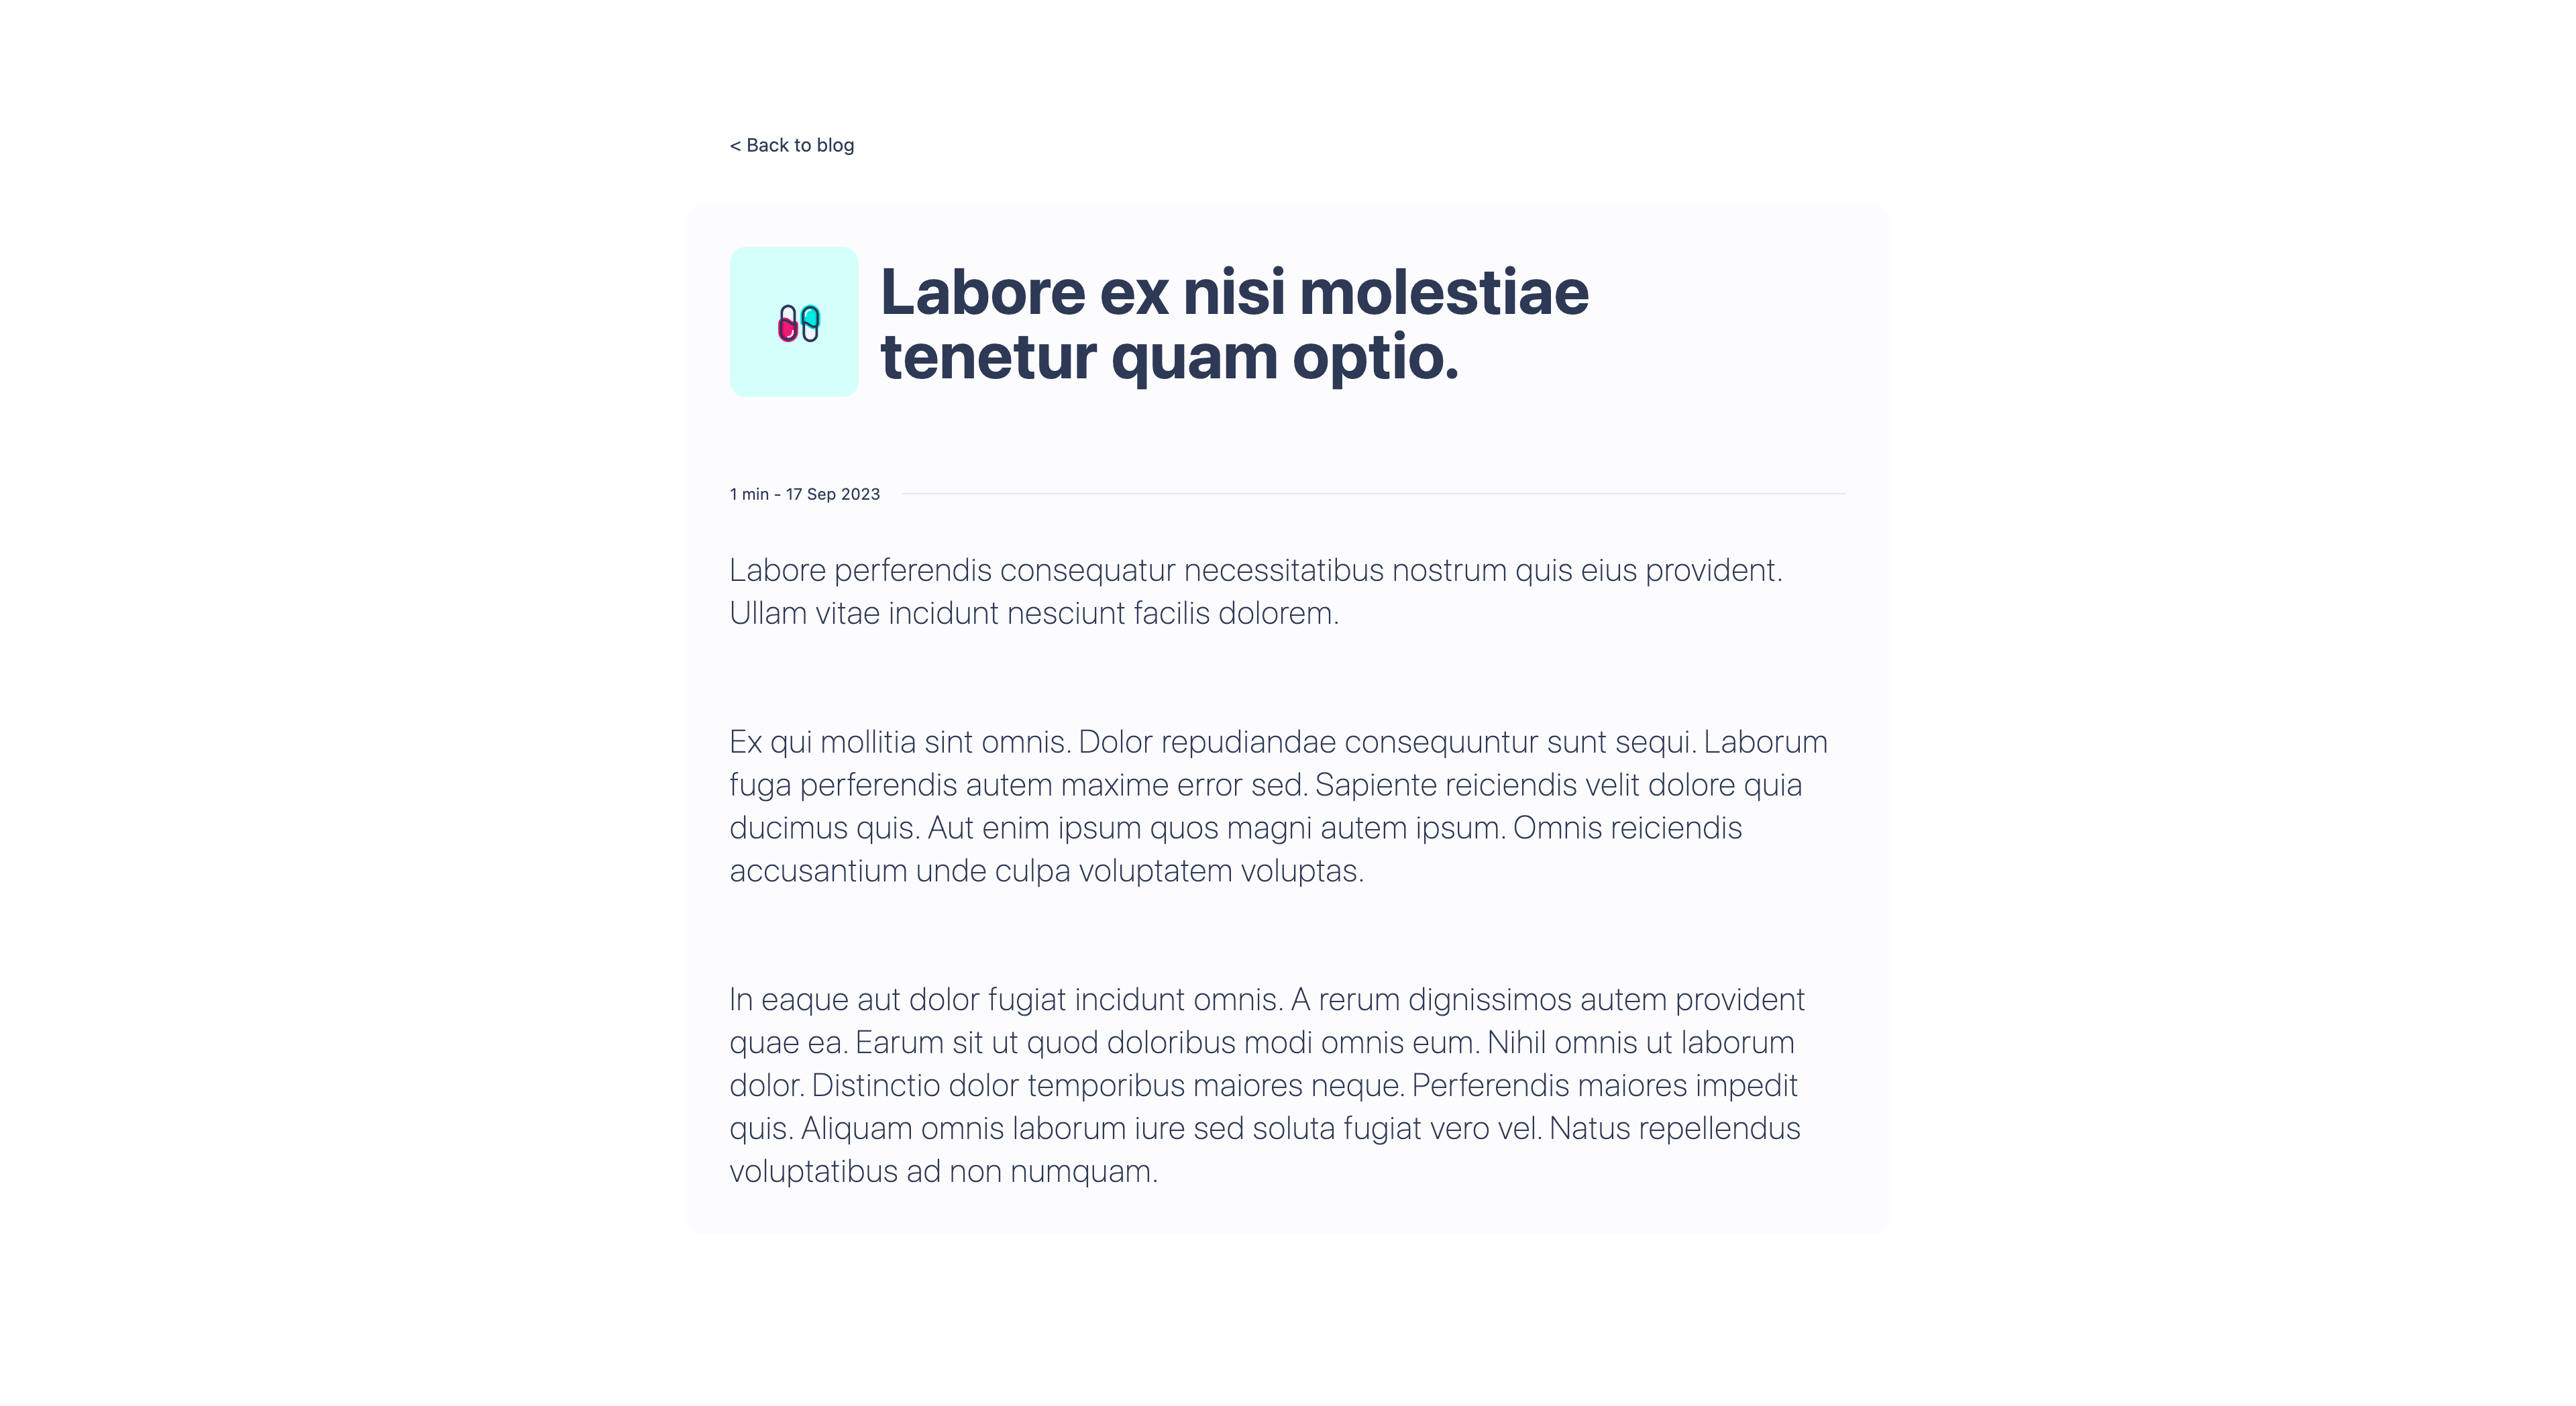
The final step is to create the layout for the Show.vue page.
resources/js/pages/Posts/Show.vue
<script setup lang="ts">

import { Link } from '@inertiajs/vue3';

const props = defineProps( { post : { type : Object, required : true } } );

</script>

<template>

    <div class="mx-auto w-full min-h-screen max-w-screen-lg flex text-primary-black">

        <div class="m-8 sm:m-16">

            <Link class="m-8 flex items-center" v-bind:href="'/'">

                <p class="text-sm leading-6 truncate" v-text="`< Back to blog`" />

            </Link>

            <div class="mb-16 p-8 rounded-xl bg-primary-white">

                <div class="mb-16 flex items-stretch">

                    <img class="w-24 object-cover rounded-xl" v-bind:src="props.post.image">

                    <h1 class="ml-4 py-2 w-2/3 text-5xl font-bold" v-text="props.post.title" />

                </div>

                <div class="mt-4 flex items-center">

                    <p class="text-xs" v-text="`${props.post.time} min - ${props.post.date}`" />

                    <hr class="grow ml-4 border-solid">

                </div>

                <div class="mt-8 text-2xl font-extralight tracking-wide article" v-html="props.post.body" />

            </div>

        </div>

    </div>

</template>
Adding a back button appears suitable to return to the Posts/Index page.
Everything is customizable thanks to the work of Todd Austin and his Canvas tool, which allowed us to create this blog in less time than it took to write this article.
Glad this helped.
